Topic Keywords: 3G modem, Android, Cloud, GSM modem, LTE modem
The NowSMS Cloud Edition is a quick and efficient way to create SMS and/or MMS applications. As a hosted service, we provision a separate NowSMS server with a unique secure web address for each customer. An app is installed on one or more Android phones to connect the phone(s) to your NowSMS cloud server. All SMS and MMS messages sent or received by your cloud server are routed through your Android phone(s). All Android phones require a standard SIM card that has been activated with a messaging plan appropriate for your messaging requirements.
This is a quick and efficient way to create SMS and/or MMS applications.
NowSMS controls the modem to send and receive SMS and MMS messages.
NowSMS allows end users to send and receive SMS and MMS messages via a web interface or via e-mail.
NowSMS enables applications to send and receive SMS and MMS messages using standard protocols such as HTTP, SMTP, SMPP, or using API examples for Java, PHP, ASP.NET, VB.NET or C#.NET.
System Requirements
1.) Android Phone running version 2.3 or higher.
2.) WiFi or Cellular Data Connectivity for Android Device
3.) The NowSMS server software must be installed on a supported platform, such as Microsoft Windows, Linux, macOS or Raspberry Pi.
Supported SMS and MMS Message Types
SMS text message formats supported include all standard text formats, including long messages, Unicode characters and emoticons. (Other binary SMS formats, such as WAP Push, are not supported at this time, and can only be supported by dedicated GSM modem devices. Message class attributes such as Flash are also not supported by the Android interface.)
MMS support may be limited by content types and size restrictions imposed by the mobile operator.
Important Notes About NowSMS & the Android Phone
Please note that after the NowSMS Modem software is installed on the Android Device, received SMS and MMS messages will be processed by NowSMS instead of the built-in messaging client.
It is possible to configure NowSMS in a send only mode to prevent this, but it is important to note that the NowSMS software assumes that in most configurations, NowSMS will be the only application processing SMS and MMS messages on the device.
Of course, the NowSMS Modem software can be easily removed or temporarily stopped to allow other standard applications to again process messages.
It is also important to note that the NowSMS Modem software may cause the battery of the Android device to be used more quickly. This is because NowSMS keeps a data connection active so that the device is available when messages need to be sent out. In most configurations it is expected that the Android phone will be connected to a power source at all times.
Creating a NowSMS Cloud Account
Step 1: If you do not already have a NowSMS Cloud account, go to https://nowsms.com/cloud and request a free 14-day trial.
When your account is activated, you will receive an email that contains a link to the NowSMS Cloud account, and an activation code. Click on the link in the email to begin the activation process.
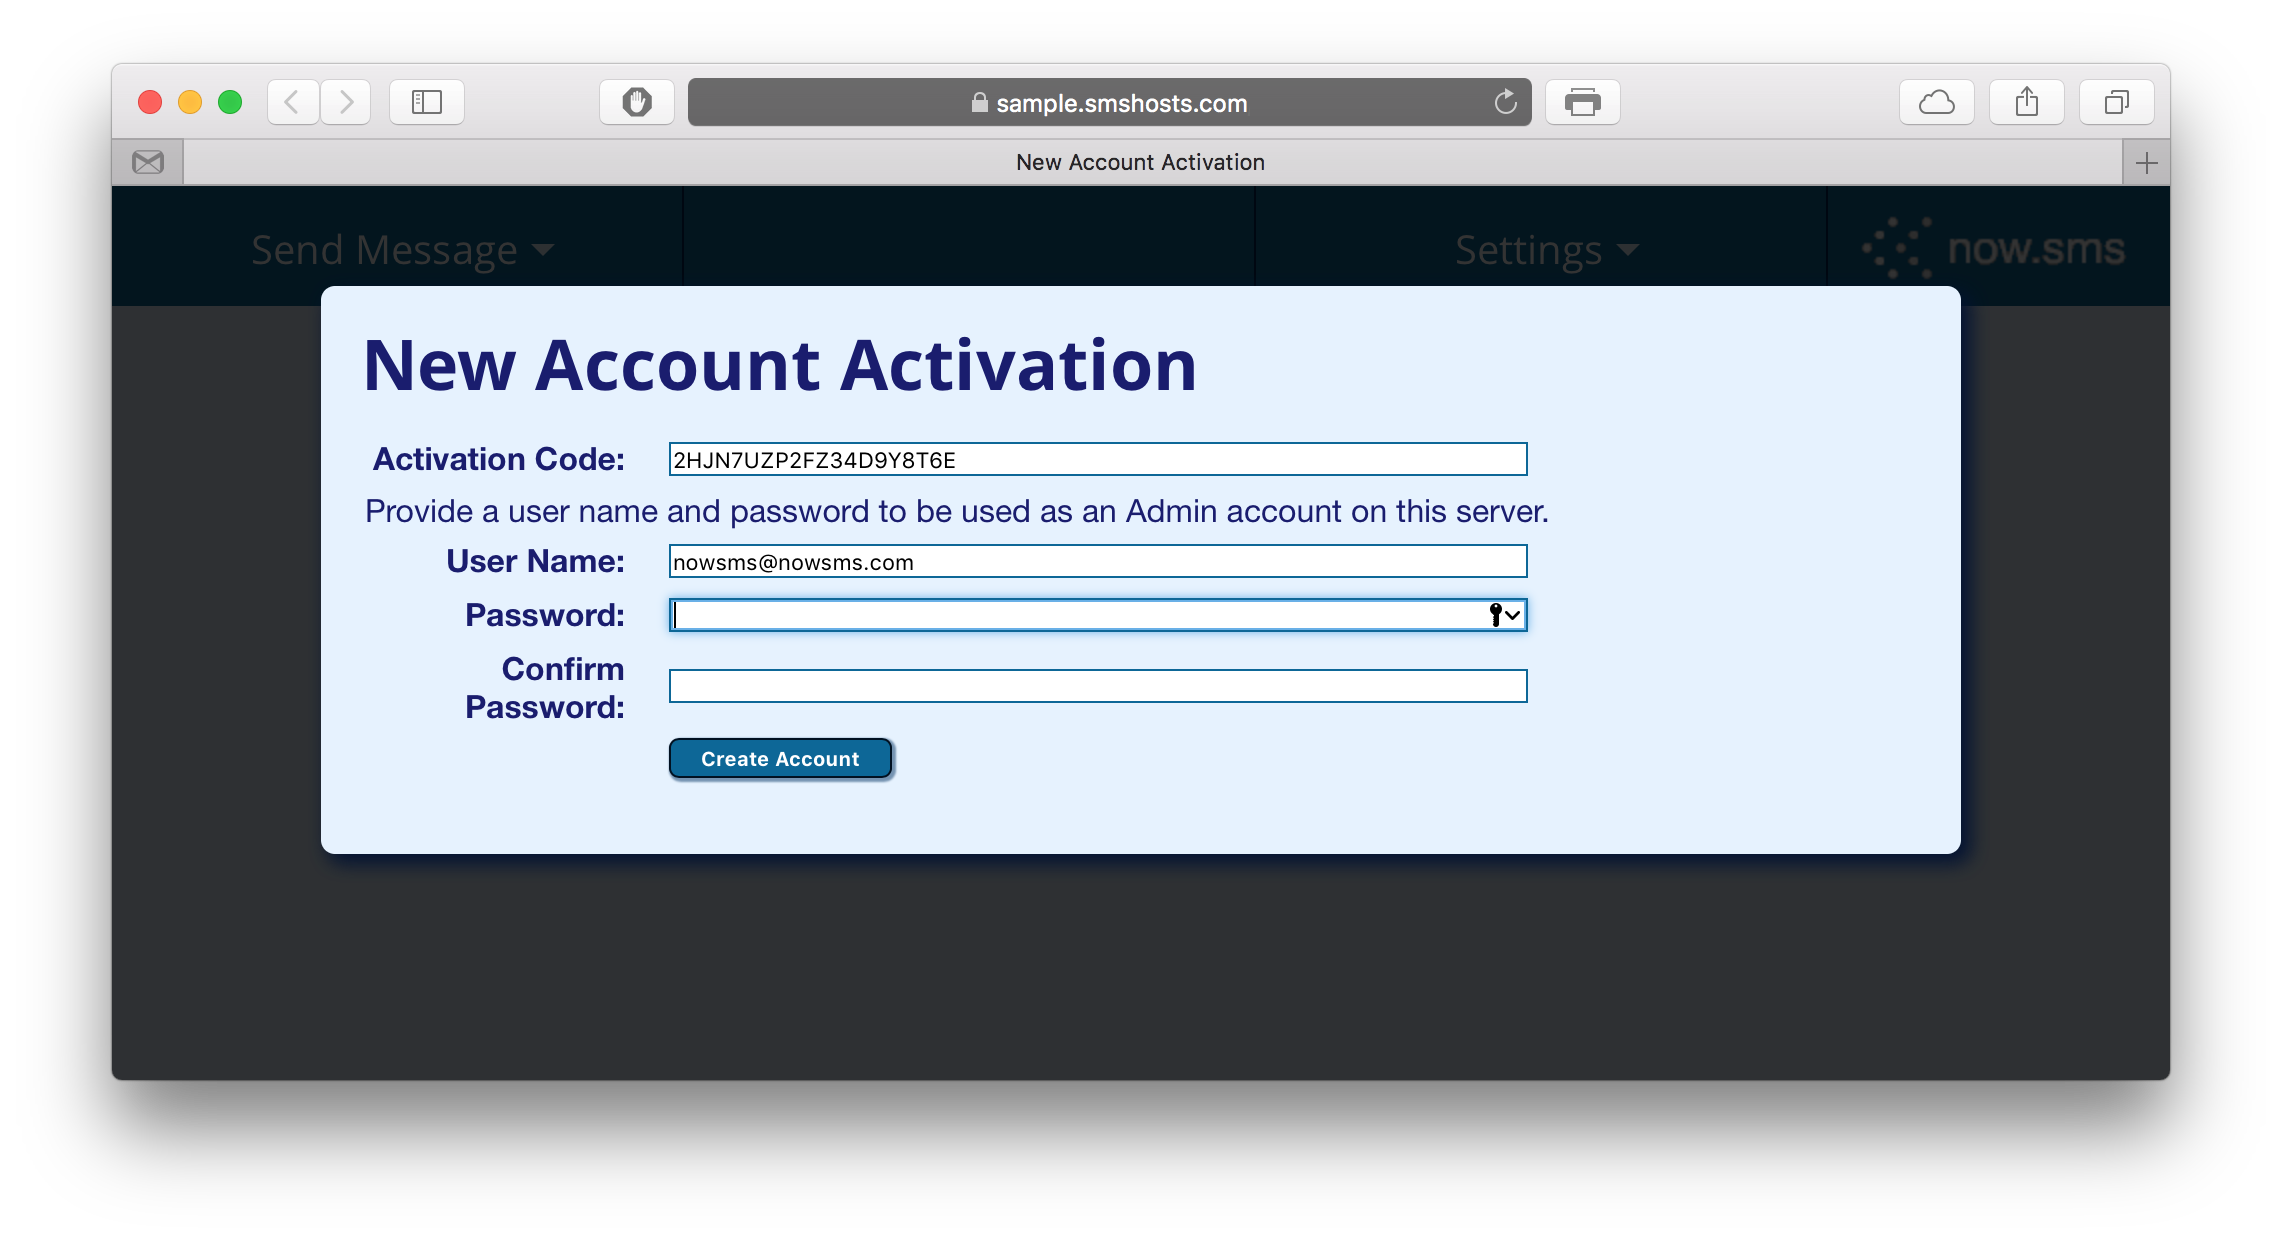
The Activation Code should be pre-filled. You will be prompted to provide a User Name and Password for your account. The user name defaults to your email address, but can be changed. After activation, it will be possible to define additional accounts, if needed.
You will then be prompted to connect an Android device.
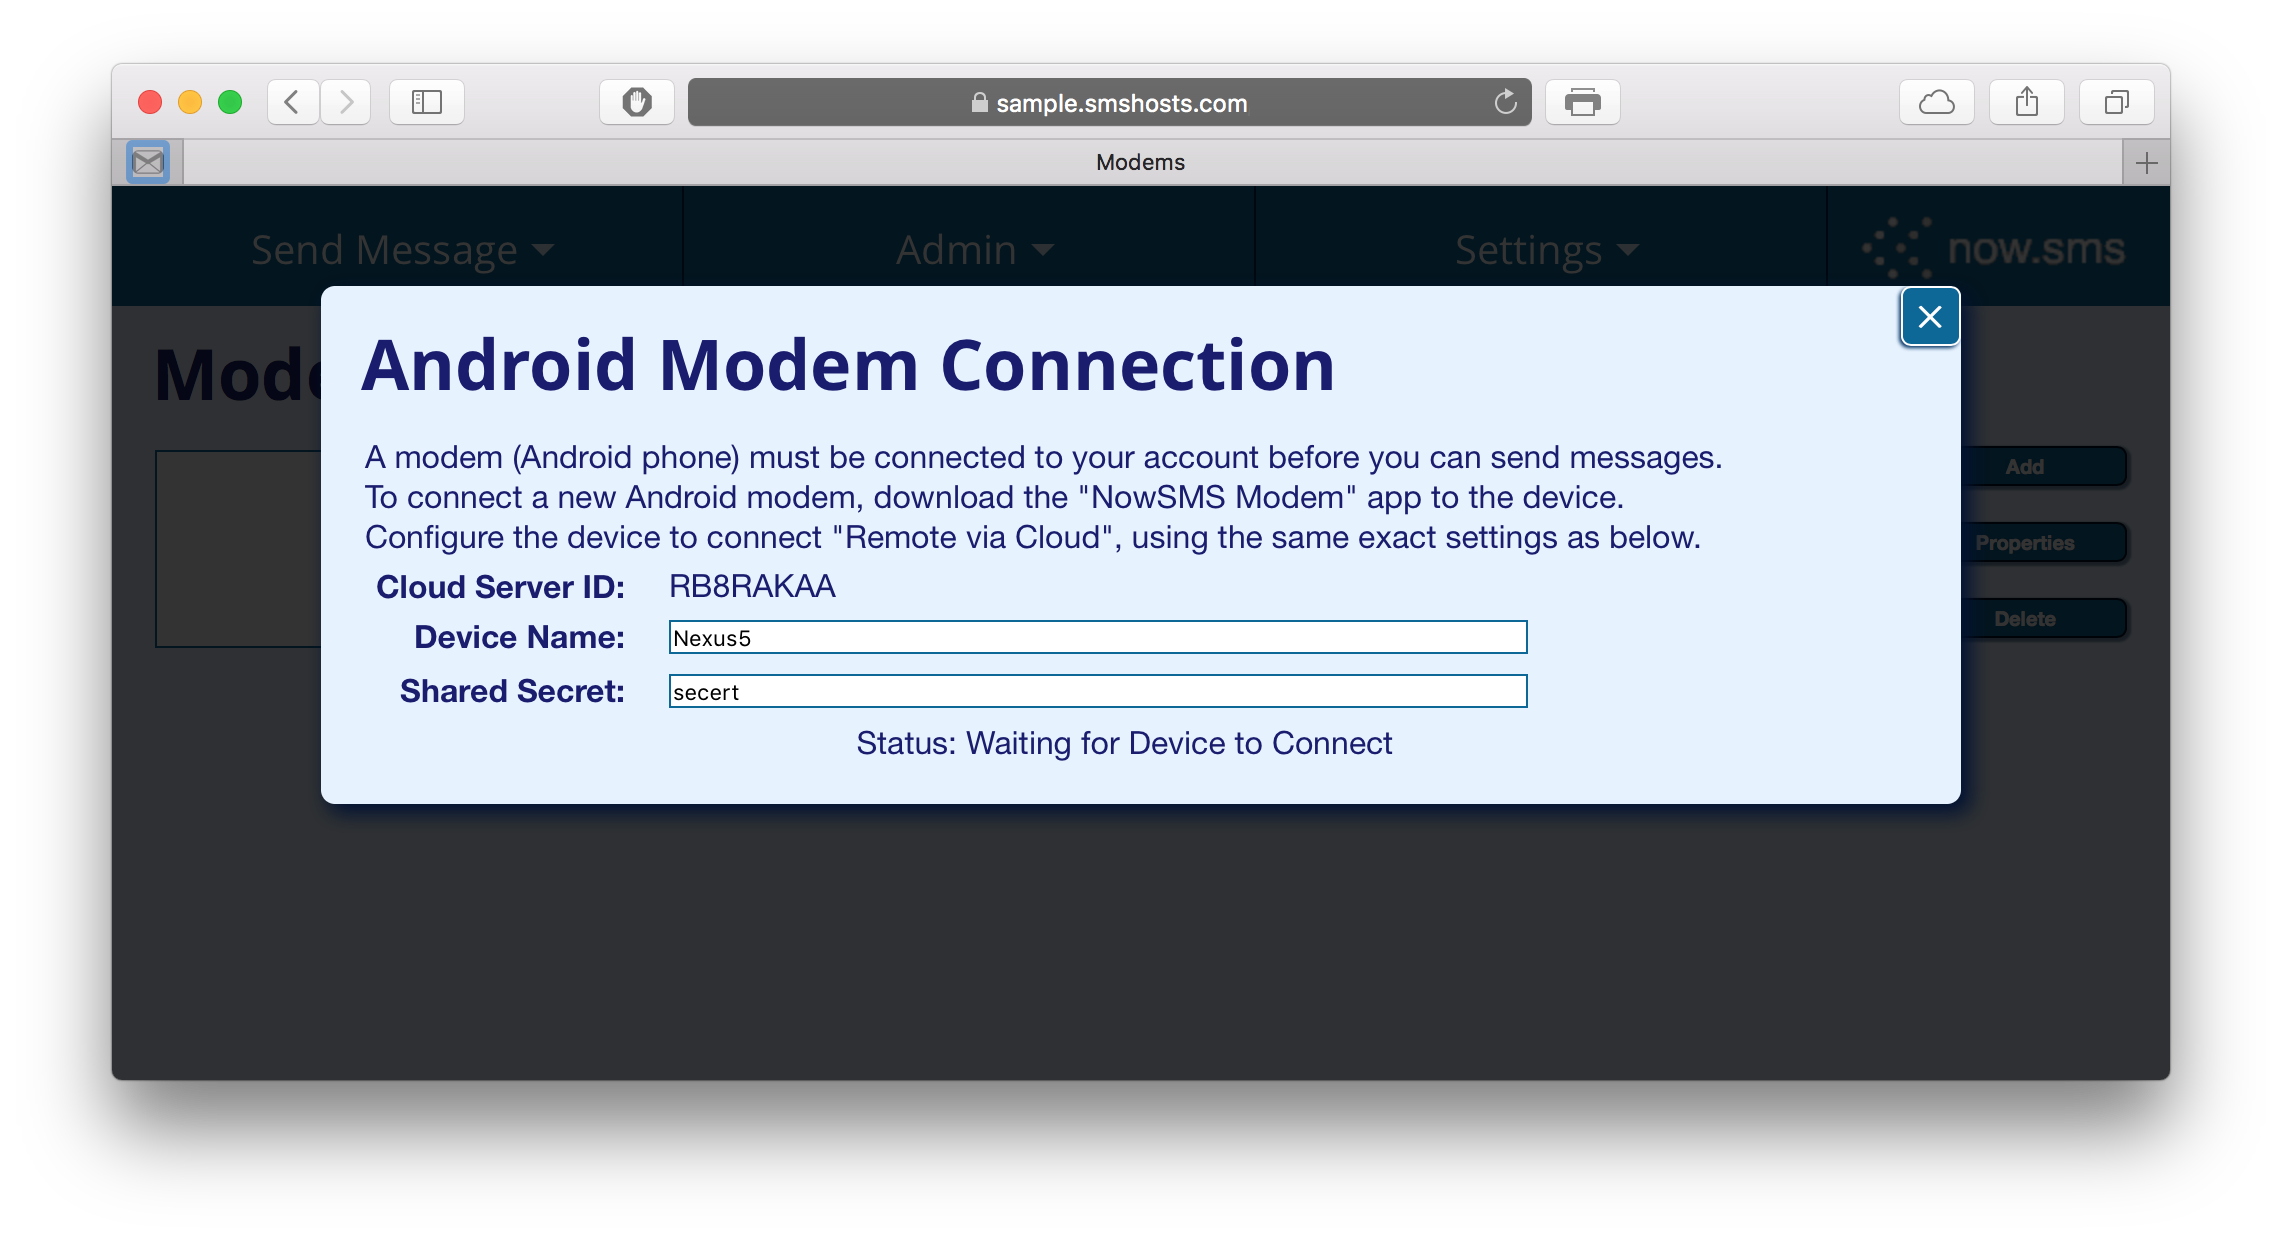
To continue setup, it is necessary to install the NowSMS Modem App on Android device, and configure this app to connect to the displayed Cloud Server ID.
Installing NowSMS Modem on the Android Phone
Step 2: It is necessary to configure the Android Device to allow applications from unknown sources. This allows the application to be downloaded directly from the NowSMS web site.
The location of this setting varies depending on the Android version and a variety of user interface differentiations from different device manufacturers. We recommend searching in the Settings app for Unknown. This setting is usually found as Unknown Sources or Install Unknown Apps.
More detailed information on this configuration setting is available in the following article: NowSMS Modem Android App – Installation Options.
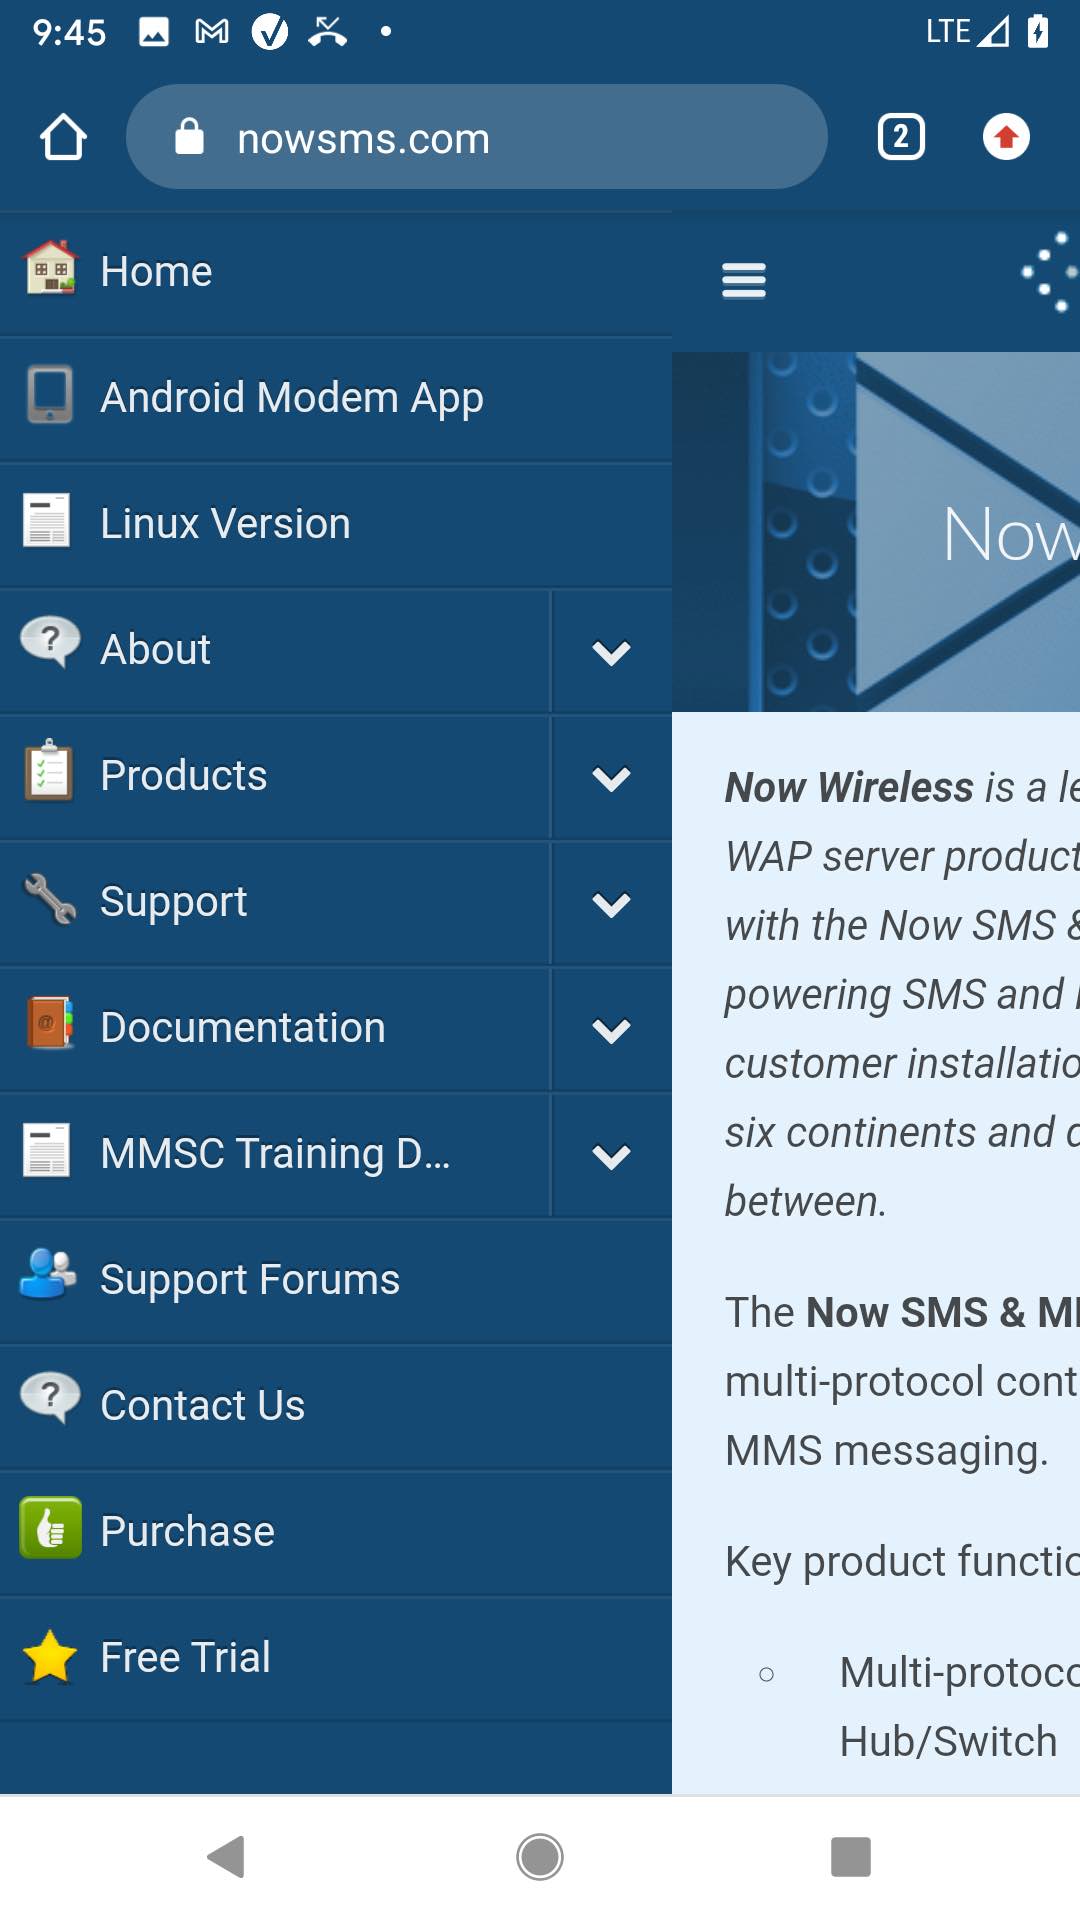
Step 3: Open the web browser or Chrome on the device, and enter the direct download URL for the app: https://nowsms.com/app, or go to the NowSMS website at https://nowsms.com, where the menu on the mobile website includes a link to download the app.
Some versions of Android will warn that this type of file may be harmful and require you to select OK before downloading the application.
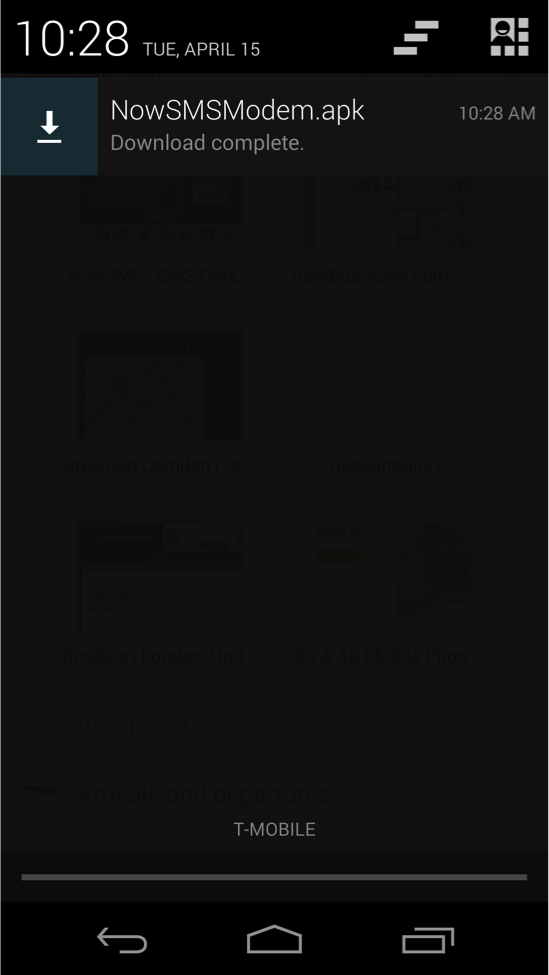
The NowSMS Modem App is contained in a file named NowSMSModem.apk.
Most recent versions of Android will display a link to open this file.
If the open link does not work, or no option to open the app is displayed, the easiest way to locate the download is to swipe down from the top of the screen where it will be shown in system notifications. Press on the notification to begin the install.
If the download does not appear as a notification, go to Applications and use the Downloads app to locate NowSMSModem.apk.
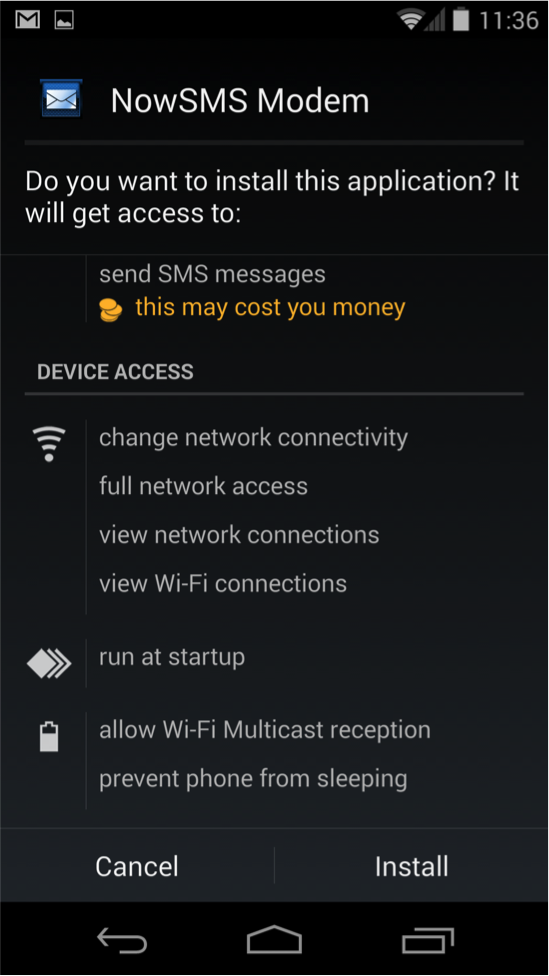
Step 4: Complete the installation of NowSMSModem.apk by allowing the requested privileges.
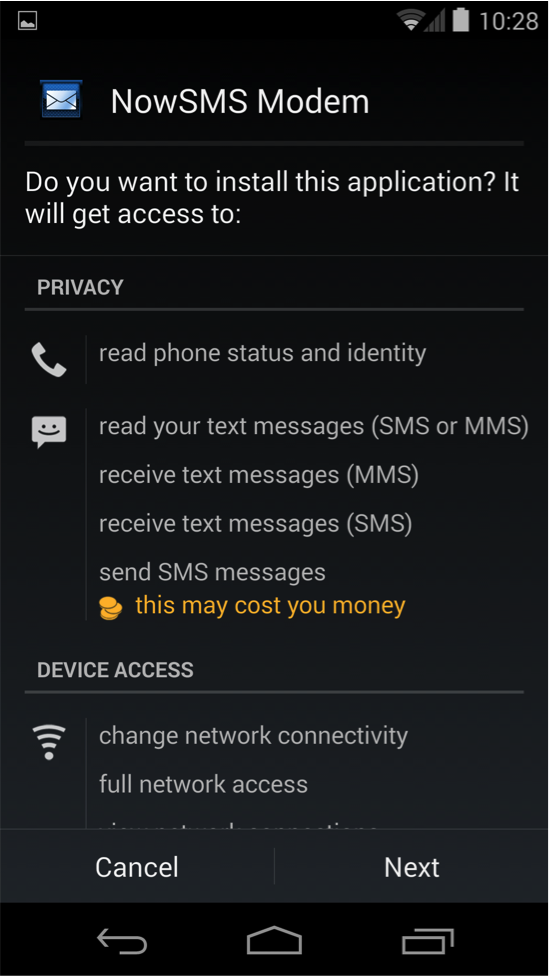
It may be necessary to press Next or scroll down before the Install option is presented.
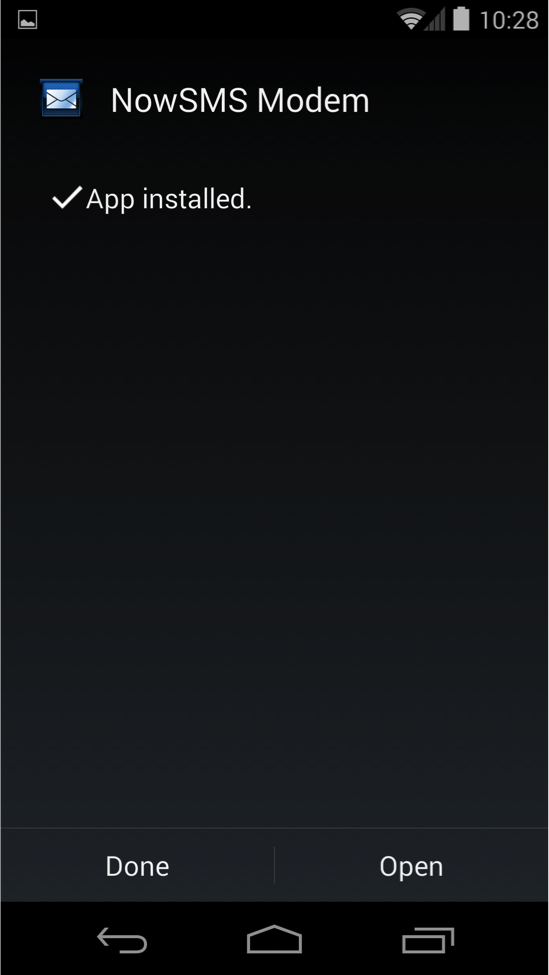
Open the App after it is installed.
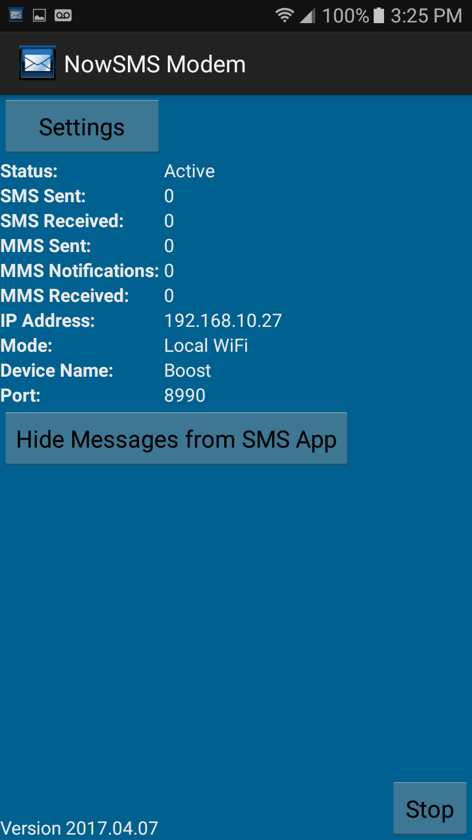
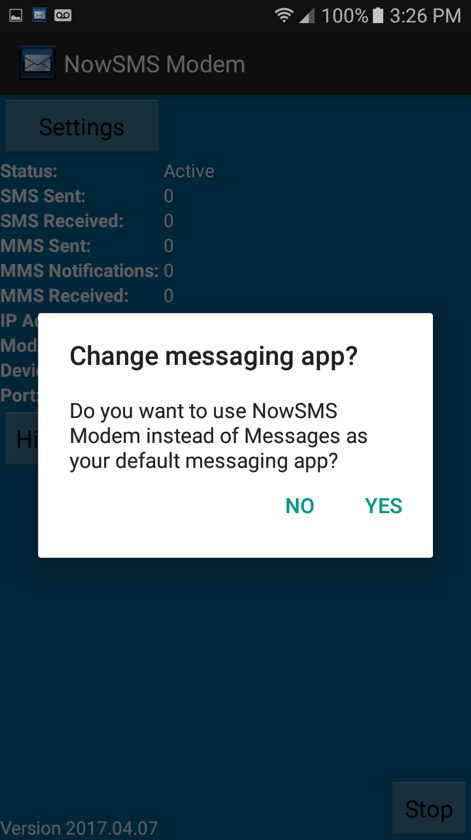
Step 5: On most Android devices (4.4/KitKat and later), an extra settings button will be displayed: Hide Messages from SMS App.
By default, on these versions of Android, SMS messages sent or received by NowSMS modem will be logged in the messaging database on the device. This may cause performance or storage issues. This button installs NowSMS Modem as the default messaging application and disables this logging.
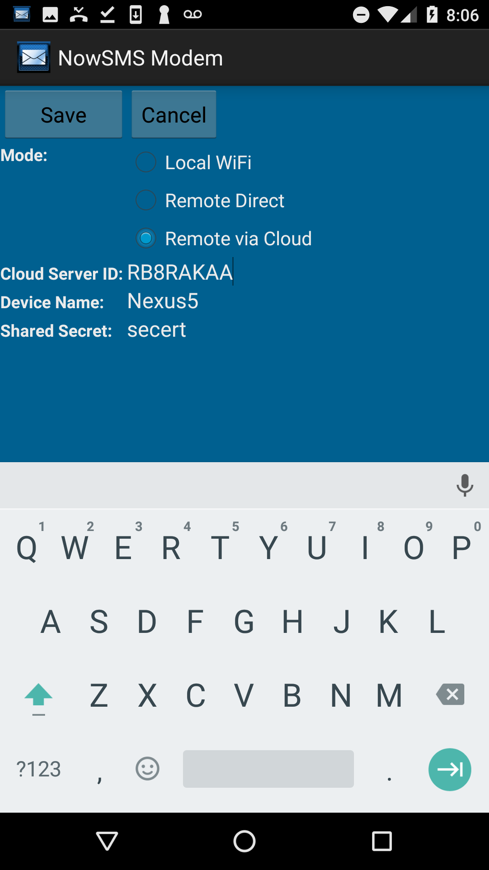
Step 6: On the Android Device, under Settings, configure this Cloud Server ID to match the ID that was displayed in the NowSMS Cloud login. Configure the same Device Name and Shared Secret in both locations, and press the Save button in the Android app.
Step 7: When the NowSMS server confirms that it has connected with the device, it will display a confirmation message.
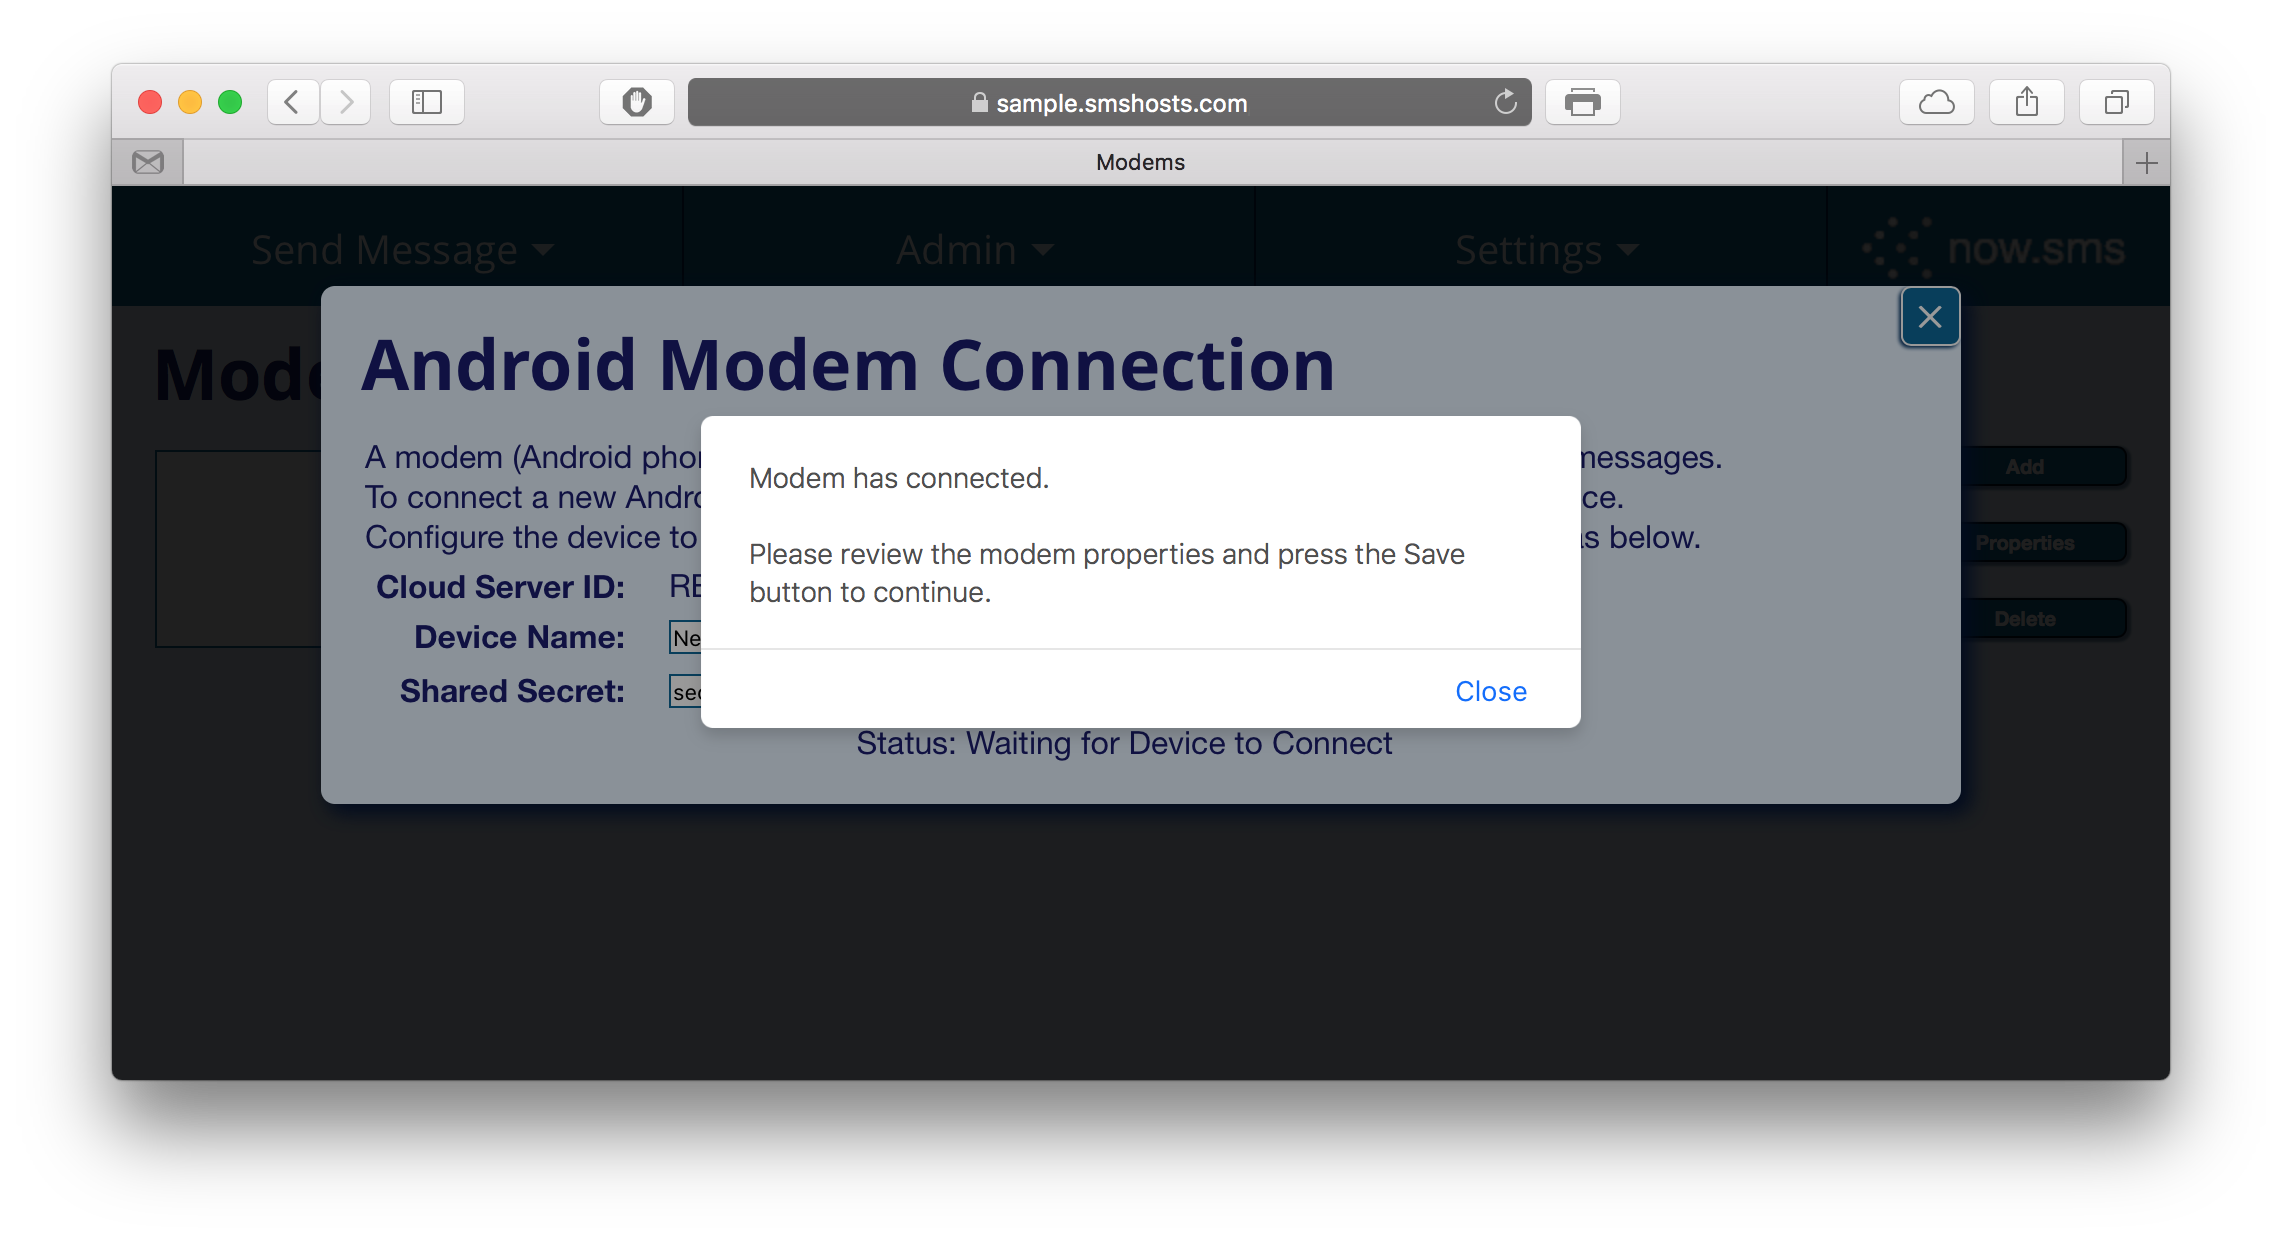
Next, the device connection properties will be displayed.

Press Save to complete the modem configuration.
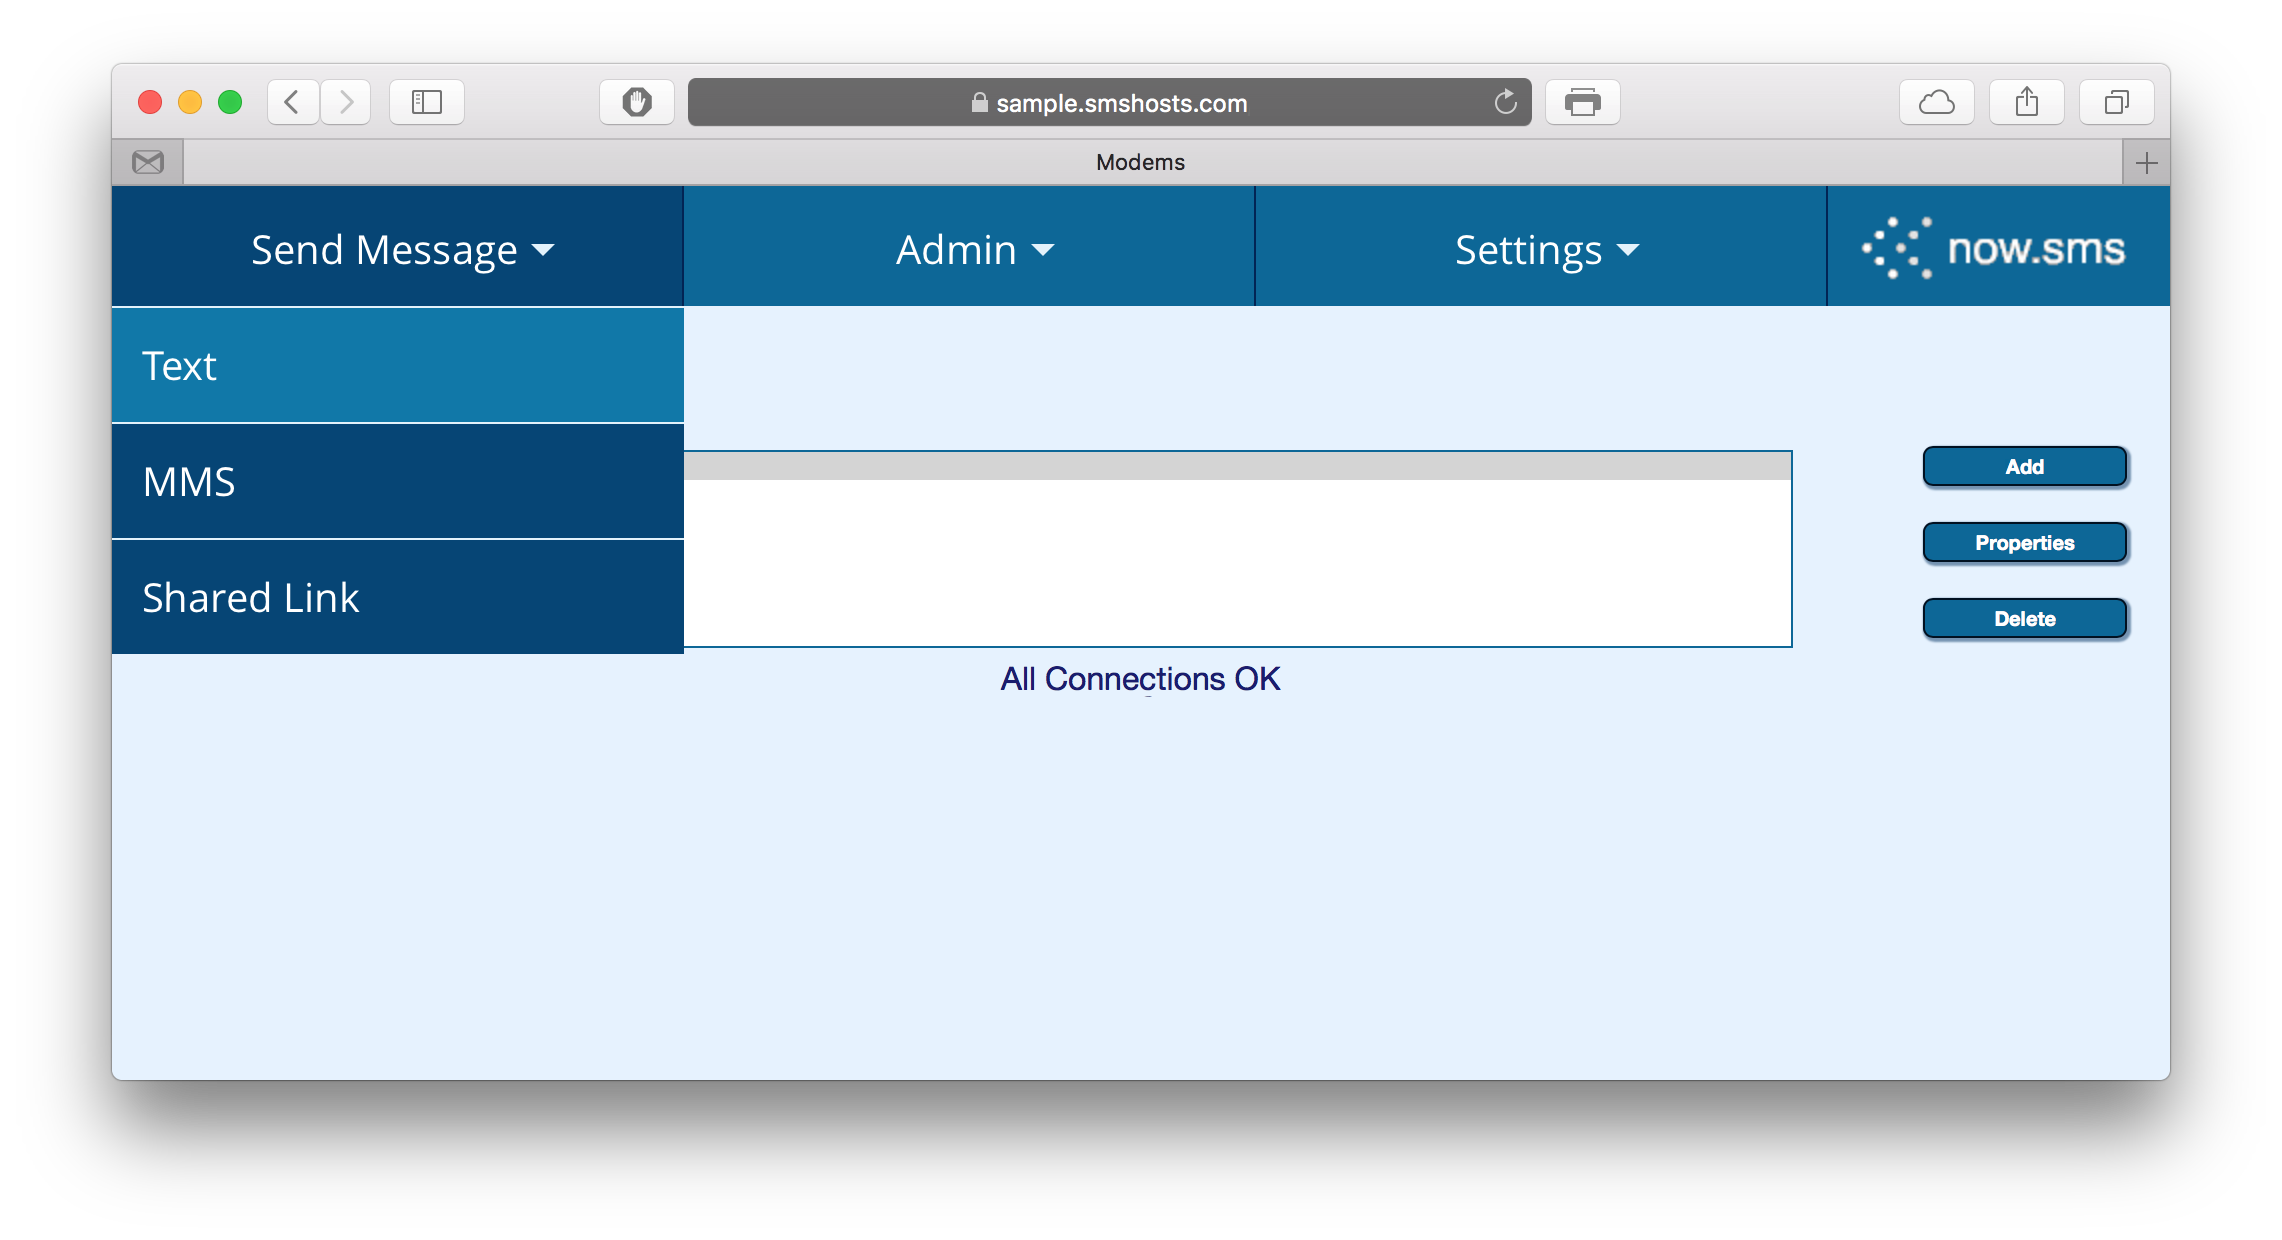
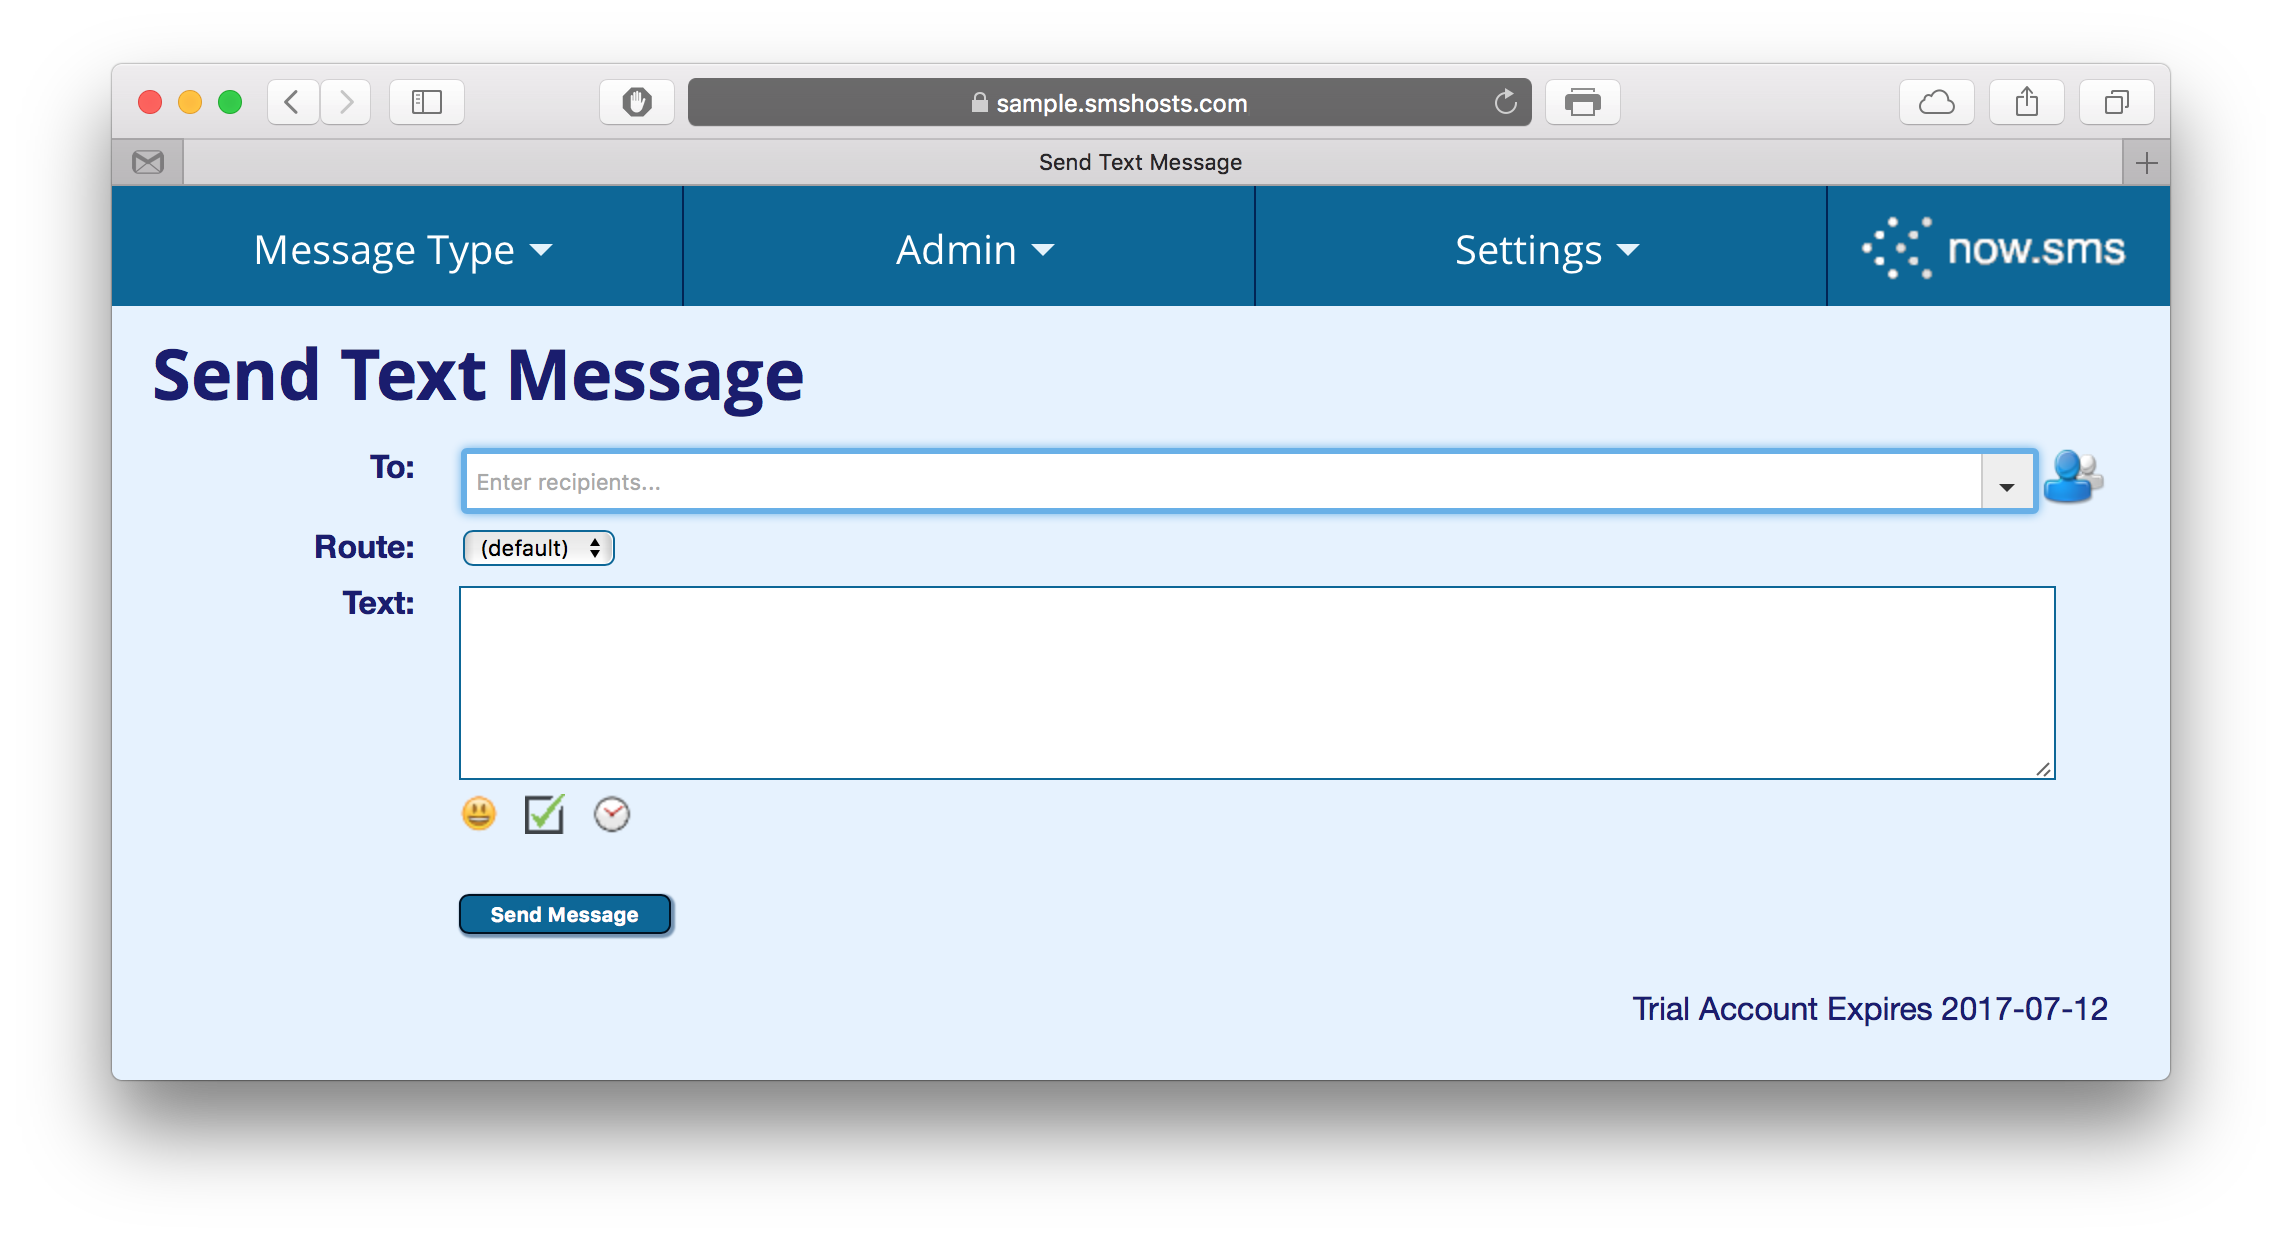
Step 8: To verify the connection is working, use the menu to navigate to the Send Text Message page, and attempt to send a message.
For comments and further discussion, please click here to visit the NowSMS Technical Forums (Discussion Board)...
NowSMS NextGen for Linux

Purchase NowSMS
![]()